

For Christmas this year I made fabric pennant banners for some of my family and friends. I wanted to add letters and chose Celebrate since it is multi-functional. I ended up making eight banners, so I came up with a few helpful shortcuts along the way.
1. Cut your letters out of felt. I used my cricut to cut letters on cardstock then used these letters as patterns. I cut out all my letters during our road trip to Utah and it was an excellent way to avoid watching ugly, ugly Nevada creep by.
2. Cut out fabric triangles. I gathered my fabric- some pieces I already had and some that were new- then started cutting triangles using a pattern I made. My triangles have a base of 8 inches and height of 10 inches. Shortcut #1: Cut with pinking shears. I was originally planning on sewing two triangles together for each letter but that would have taken way too long (and twice as much fabric.) Cutting with pinking shears looks cute and assures they won't fray.
3. Attach letters to triangles. Shortcut #2: Hot glue letters onto fabric. Felt stretches and can be a huge pain to sew so I hot glued them all in place first. Make sure you only hot glue in the center of the letter though because a sewing machine + hot glue = disaster (I know from frustrating experience.)
4. Top stitch around letters. This took some time, but I think it makes a big difference. E's were a lot of fun, B's were a pain.

5. Attach banner together with ribbon. Again, hot glue gun to the rescue. I found a method that really worked for me: Spread hot glue along the edge of the ribbon, then attach it to the top of the first triangle with a little (about 1/2 inch) fabric border on the top. Then turn the ribbon/triangle over and squeeze another line of hot glue on the edge of the ribbon, this time overlapping a little bit (about 1 1/2 inches) on the back of the first triangle. Attach the second triangle and repeat for all the rest.
6. Top stitch over the ribbon: Since I only hot glued along the bottom edge of the ribbon I could sew along the top edge. And Voila! Hang and Celebrate!!
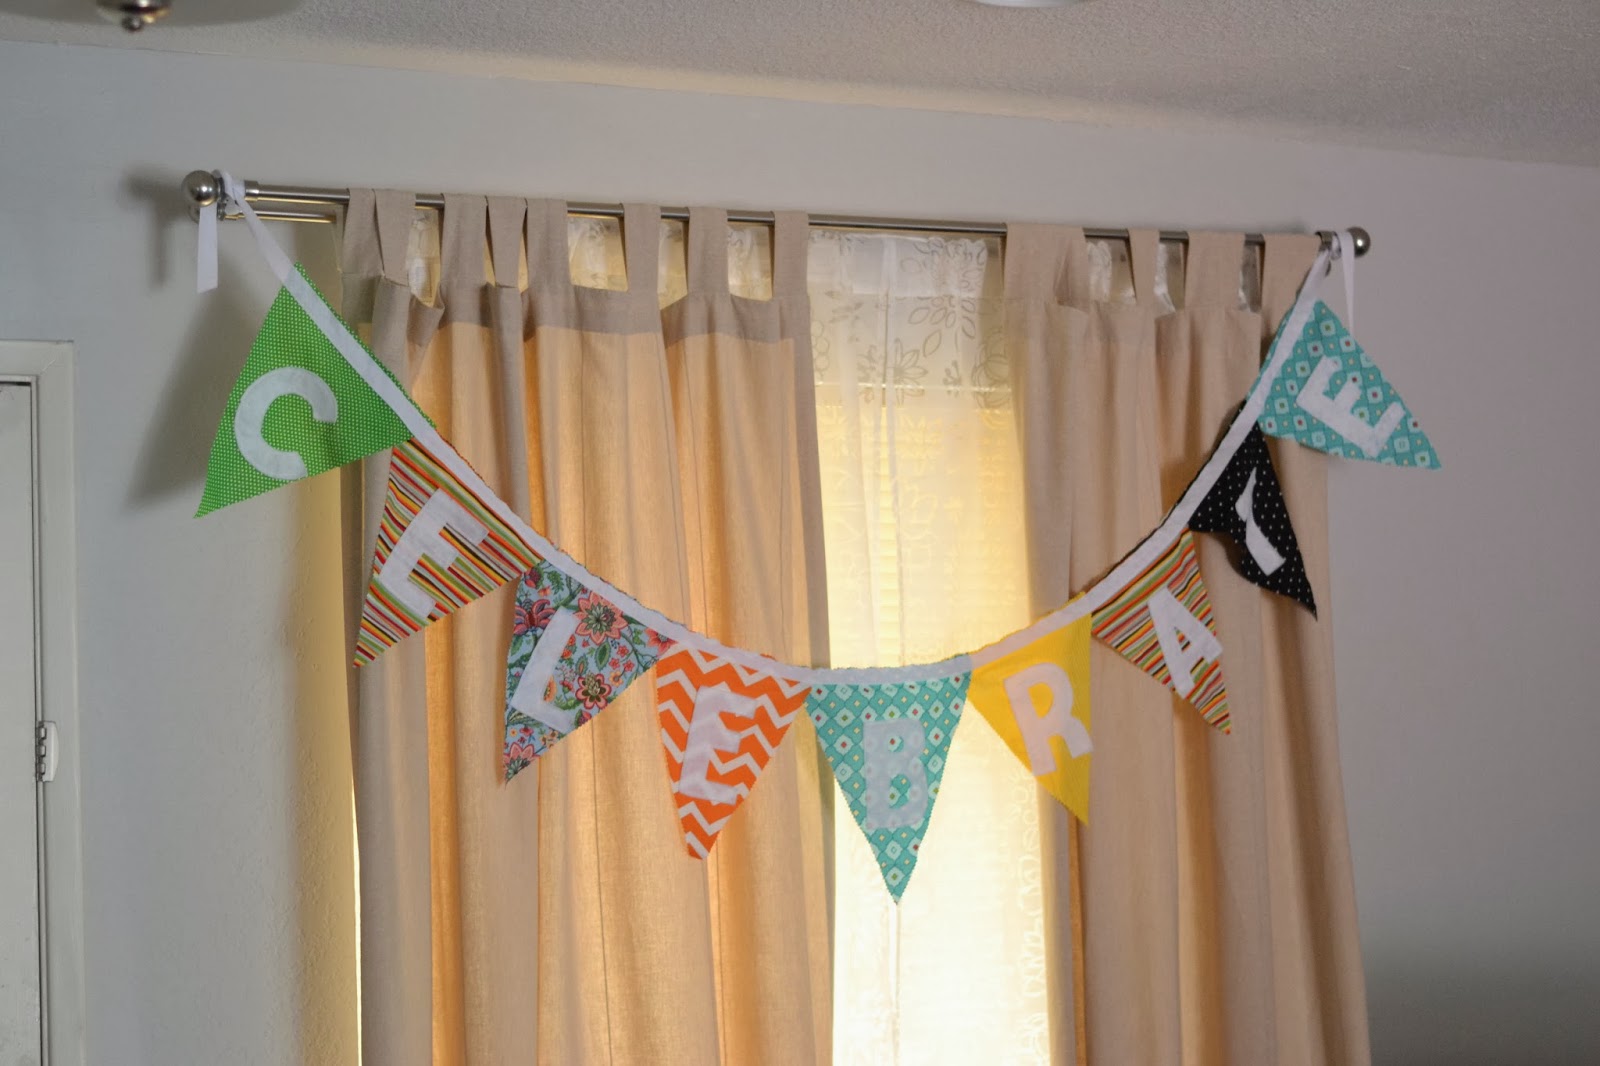
(photo credits to Lisa, who offered to use her fancy new lens for me, thanks friend!)


3 comments:
Pinned! :)
I've been looking for a tutorial for one of these, thank you! You always have such fun crafts and ideas!
Very cute! I love how it will work for so many different occasions!
Post a Comment