Showing posts with label DIY. Show all posts

7.19.2013

five

1. We survived the trip home!  While it was much, much better than our trip out it still wasn't flawless.  We had delays, nearly lost baggage, grouchy people, blowout diapers, and a particularly nasty 15 minutes during which both girls were screaming.  But, at one point when Mattie was asleep in my arms and Jilly was asleep with her head in my lap my neighbor said "You are very blessed."  And I said, "Yes, yes I am."

2. My girls have the best (the BEST) aunts and uncle.  They played with Jilly, had sleepovers with her, and endured her constant bossiness and drama.  Jilly is missing her favorite playmates so, so much.


3. We finally made it home at about 1am Thursday morning.  I walked in the door to find a perfectly clean house- dishes clean, carpet vacuumed, and even freshly washed sheets on my bed (is there anything better than crawling into a bed of clean sheets?)  To top it all Bryan had gotten me cookie dough to get me through the next day (if it makes you feel better you can pretend I used it to make cookies, but let's be honest- I didn't.)  He's a keeper.

4. While in VA my sisters and I made microwave potato bags (using this tutorial.)  I used mine last night and it worked perfectly, but Jenn used hers also and sent me this picture on the right.  Perhaps not a 100% success.
5. When I was taking Mattie's two month pictures another little girl had to join in.  And Mattie gave me one of her classic "save me!" faces.  Love them both.

6.24.2013

pre-Mattie projects

It's difficult to remember life before our sweet little Mattie, but there were a few things I was going to blog about before she surprised us and arrived 5 days early (bless her!)

Brown paper packages tied up with string-
Between Mother's Day, birthdays, and graduation I had lots of gifts to purchase, wrap, and send off (this picture only shows about half!)   I also let Jilly pick out and wrap a gift for Mattie, and we got a gift for Jilly from Mattie.  These presents kept me busy for a few weeks.

Another dress-
 
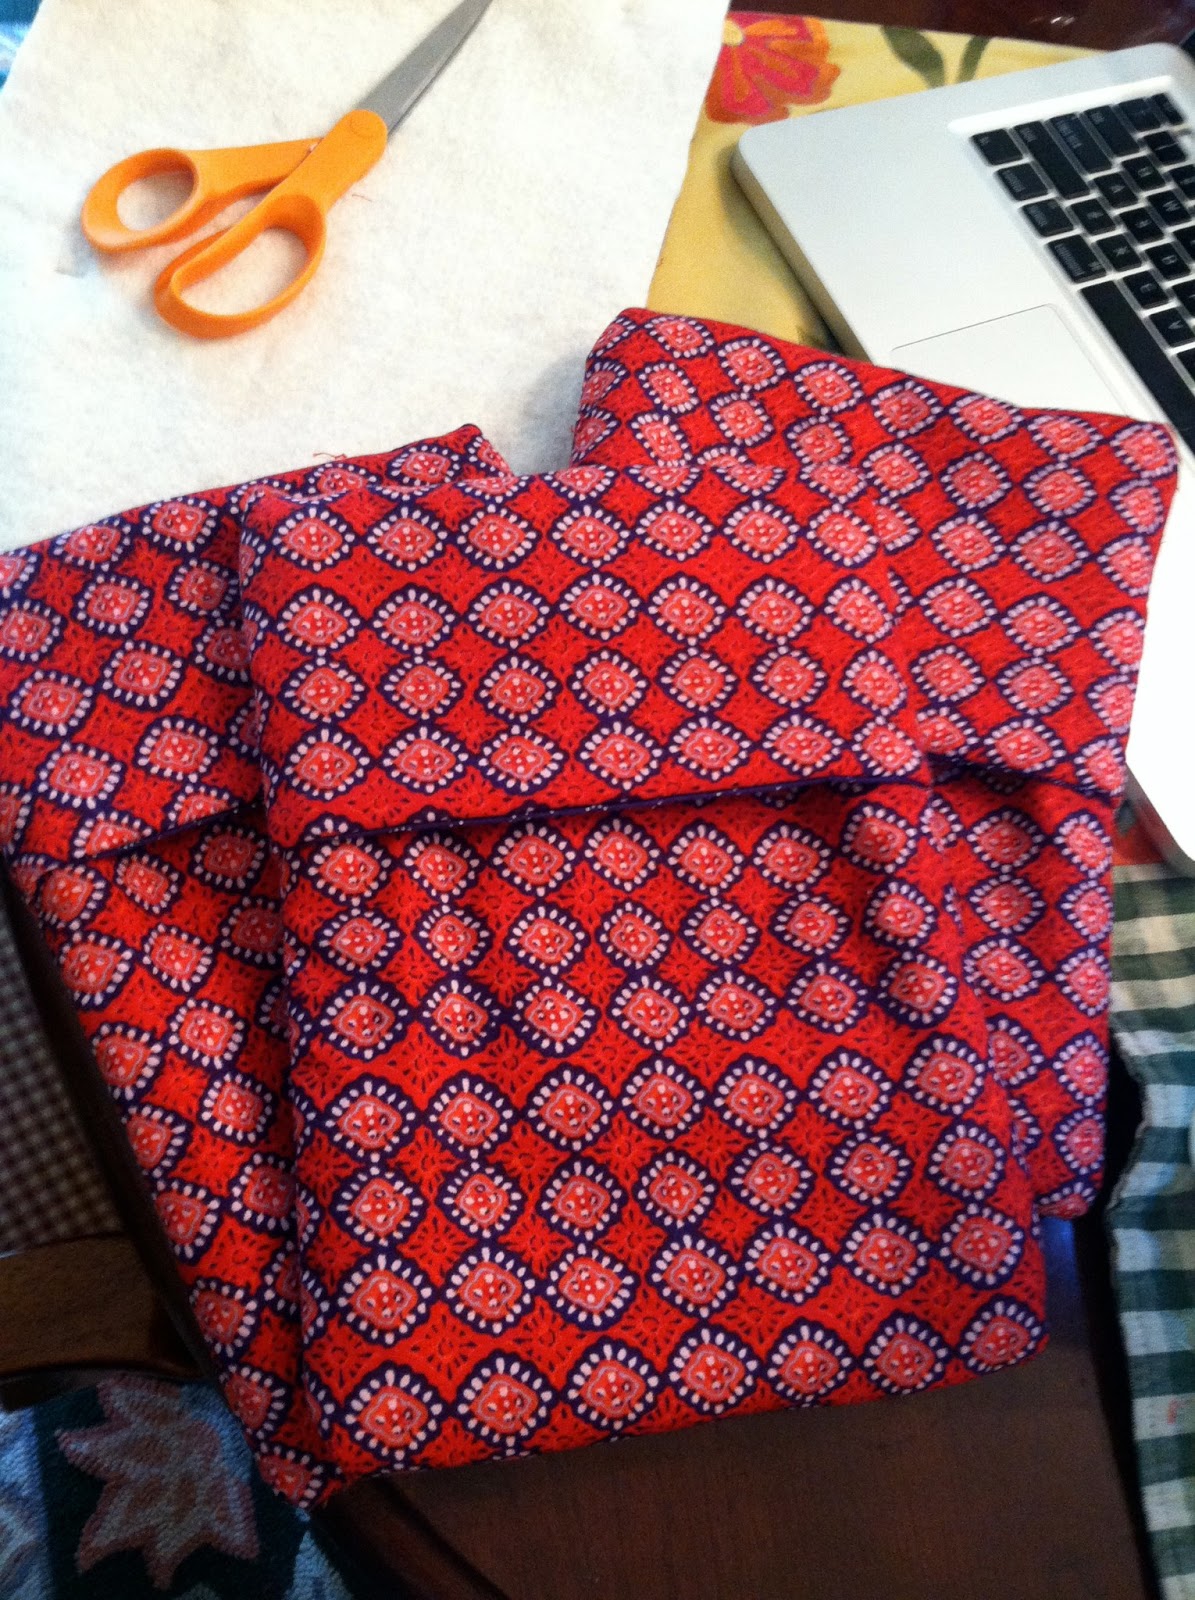
We got new curtains for Mattie's bedroom, but I still loved the fabric from the old curtains so I channeled Maria von Trapp and made a play dress using this pattern.  Jilly loved this dress and wore it for 3 days straight, and now I can't get her to put it on at all. Typical.

Mobile-
Bryan and I spent a whole night debating the pronunciation of mobile- is it mo-buhl, mo-beel, or mo-bile (with a long i)?  Anyway, making this mobile for Mattie was a perfectly fun and easy project.  I used this tutorial.  


After Mattie arrived I looked back over my "To Do Before Baby" checklist and was shocked that I never got to 'clean the blinds.'  Maybe before our next baby... but don't hold your breath.

1.28.2013

rain gutter bookshelves

This post could also be titled "Why Bryan is the best" or "The day Jilly couldn't keep her tongue in her mouth."

One day I showed Bryan this link and said "How would you feel about putting rain gutter bookshelves in Jilly's room?"  He replied, "Great, send me the link."  The link was sent and the next day he and Jilly were off to Lowe's.  They came home with a 10 ft long piece of rain gutter.  I was very glad I hadn't gone with them because they had to drive with the windows open for it to fit-brr!  

A couple days later Bryan cut the rain gutter in half, drilled the brackets into the wall, hung the gutters, and put the endcaps on (our shelves are right against the wall so we only did endcaps on the left side but other than that we followed the instructions on the initial link.)  The whole process took about 30 minutes and was a smashing success.  We are in love with our new shelves.
Next up: a pouf to go in that corner and finally painting the walls!

While I was in Jilly's room taking pictures I had to snap one of her tent.  We moved the changing table out of her room a few days ago and when she saw the changing pad she said, "Oh! A bed!"  She quickly snagged it and relocated it to her tent.  She loves to sit in there and read books. It looks so cozy, it may be hard to ever get it back from her!

5.28.2012

Forget Spring Cleaning...

I've been all about Spring Projects this year.

I've been wanting to make a book wreath forever and finally got to it.  It's a great addition to our entryway.
I decided that Jilly needed some seersucker in her wardrobe this summer.  This skirt was so, so easy- I did it in one night (that's definitely a first for one of my sewing projects.)  I liked it so much, I made a matching one for my cute niece Kirra.

Bryan's parents were getting rid of this shelf and we said we'd take it.  I stained it then painted these frames to go with it in Jilly's bathroom.
These onesies are for a friend's baby that arrived on Sunday morning!
 After the skirt success I decided to try a dress.  This pattern was awesome, and even though I made lots of mistakes it turned out okay and looks cute on her.  I felt like Maria Von Trapp, except this dress is not from old curtains but clearance fabric
 Last, but not least, we finally have a mirror for over our fireplace!  I hated that empty space on our wall so much, but it took a while to decide what we wanted and then to find a great deal ($20 on craigslist, we were thrilled.)  I stained it a million times, and I'm still not sure if I want it to be darker, but it's hanging for now and has been a huge improvement to the room.

What projects have you been doing?

1.19.2012

Pinteresting

My Cousin-in-law and I were discussing Pinterest a few weeks ago and we both agreed that it's a "productive waste of time."  Though most pinned items will remain in cyberspace, I have done a few projets that I am pretty pleased with.
Pinterest Family Handprints:


Mine:

Pinterest Fall Leaves Pillow:

Mine:


Pinterest Coasters: 


Mine:
 
Pinterest Monogram:
Source: etsy.com via Rachel on Pinterest


Mine:

7.03.2011

Recipe Book

As part of my sister's wedding gift, I put together a book of recipes from my mom, my grandma, and some of our favorites.  This was an excellent time for me to do some recipe reorganization of my own as well.

I used the (free!) templates from Prudent Baby for the cover and spine.  I went with yellow because we're a family of yellow-lovers but there are lots of great colors.


I thought long and hard about the divider issue.  First I decided my categories would be: appetizers, beverages, sauces, breads, breakfast, vegetables, soups, entrees, and desserts.  The next problem was dividers.  Since I wanted to put my recipes in clear pastic covers, I needed dividers that would be longer than the sheet protectors.  For some odd reason, these are nearly impossible to find.  I'm thinking about patenting my own and becoming a bazillionaire.  I found dividers with the tab on top here but they weren't very cute and they were $4 for 5 dividers and I needed 18 (9 categories for each of our books) and that seemed like an exorbitant amount.  So, I made my own.

I bought these cute file folders at Target- 12 folders for $5 then cut them along the fold.  I could only use the half with tabs that stuck out so I did have to buy 2 packs, but now I have lots of cute cardstock to use for cards and such.

I printed my labels and glued them onto the tabs.  At this point there is an optional step of spilling half a bottle of Rubber Cement on your carpet.  Looking back, I would probably skip this step next time, but I'll leave that decision up to you.  (If you do go with this option, mix 2 cups of water with a tablespoon of vinegar and a tablespoon of dish soap then scrub your little heart out and it will eventually come out.)

Since my tabs would get a lot of use I used contact paper to strengthen them.  I just cut a little piece, folded it over and cut off the excess.  Nice and sturdy.

Then I punched holes in the edges and voila! I had dividers.

This new recipe book will help with some of my recipe resolutions.
1. No more recipe book filled weird and unknown recipes.  In the past I've gone nuts cutting out recipes, printing recipes, etc.  This book is only for the winners.  I'll keep a "to try" folder but not transfer anything over until it makes the cut.  This way I won't be searching through a never-ending book of recipes I never use.
2. No more food spattered on the computer.  Once I've tried a recipe and it's a winner, I'm going to print it and stick it in the book.  This will save me time searching through my looooong list of bookmarks and save my precious computer.

6.15.2011

Hair Bows

Before we left, I rushed to complete lots of projects including some new hair bows for Jilly (as if she didn't already have enough...)  These seemed easy and cute, so I made them with my own little twist.  I made all of mine different sizes, but my favorite size (the pink one on Jilly) was 3" x 3 1/2".

{Sorry for a naked model- we were busy packing and crafting so things like getting dressed took a back seat.}

Instead of sewing only around 3 sides like the tutorial says, I sewed around the whole thing except for about an inch on one side.  It was still easy to pull through and then the corners looked more even.


After pulling through I topstitched over the whole bow then twisted it and used floral wire to keep it tight.  I wasn't in love with the wire being visible so I cut a little strip about 1 inch wide and 2ish inches long and ironed the edges in so it looked nice.  Then I hot glued the strip around the middle.  (I hope that makes sense, I meant to take pictures during this step but it didn't happen, sorry.)

Finished bows

2.07.2011

Folding a Fitted Sheet

For years fitted sheets have frustrated me.  I could never figure out how to fold them, so they would inevitably end up wadded up in a messy pile.  I thought it was impossible to fold them nicely until I saw Martha Stewart on Oprah giving instructions on how to fold sheets.  Martha may be great at many things (like committing a felony) but she is terrible at teaching how to fold a fitted sheet.  I tried to follow along but she went totally fast and didn't even show how to do it.  She started the process then some helpful behind the scenes guy brought out the finished product. Lame.  But I decided that in 2011 I was going to master folding a fitted sheet and spotted this tutorial to help me.  I used it today and while it doesn't look perfect, my folded fitted sheet looks immensely better than it used to.

The best part of the tutorial is when she says, "One of the greatest challenges in your life will be learning to fold a fitted sheet."  Sign me up for that life.

2.04.2011

Crafty

I've found time to squeeze in a couple of fun crafts lately.  First, I made these tissue paper kissing balls.  I found the idea here.  They were pretty easy but took me a long time. 

I put the kissing balls in this vase- hooray Valentine's decor!

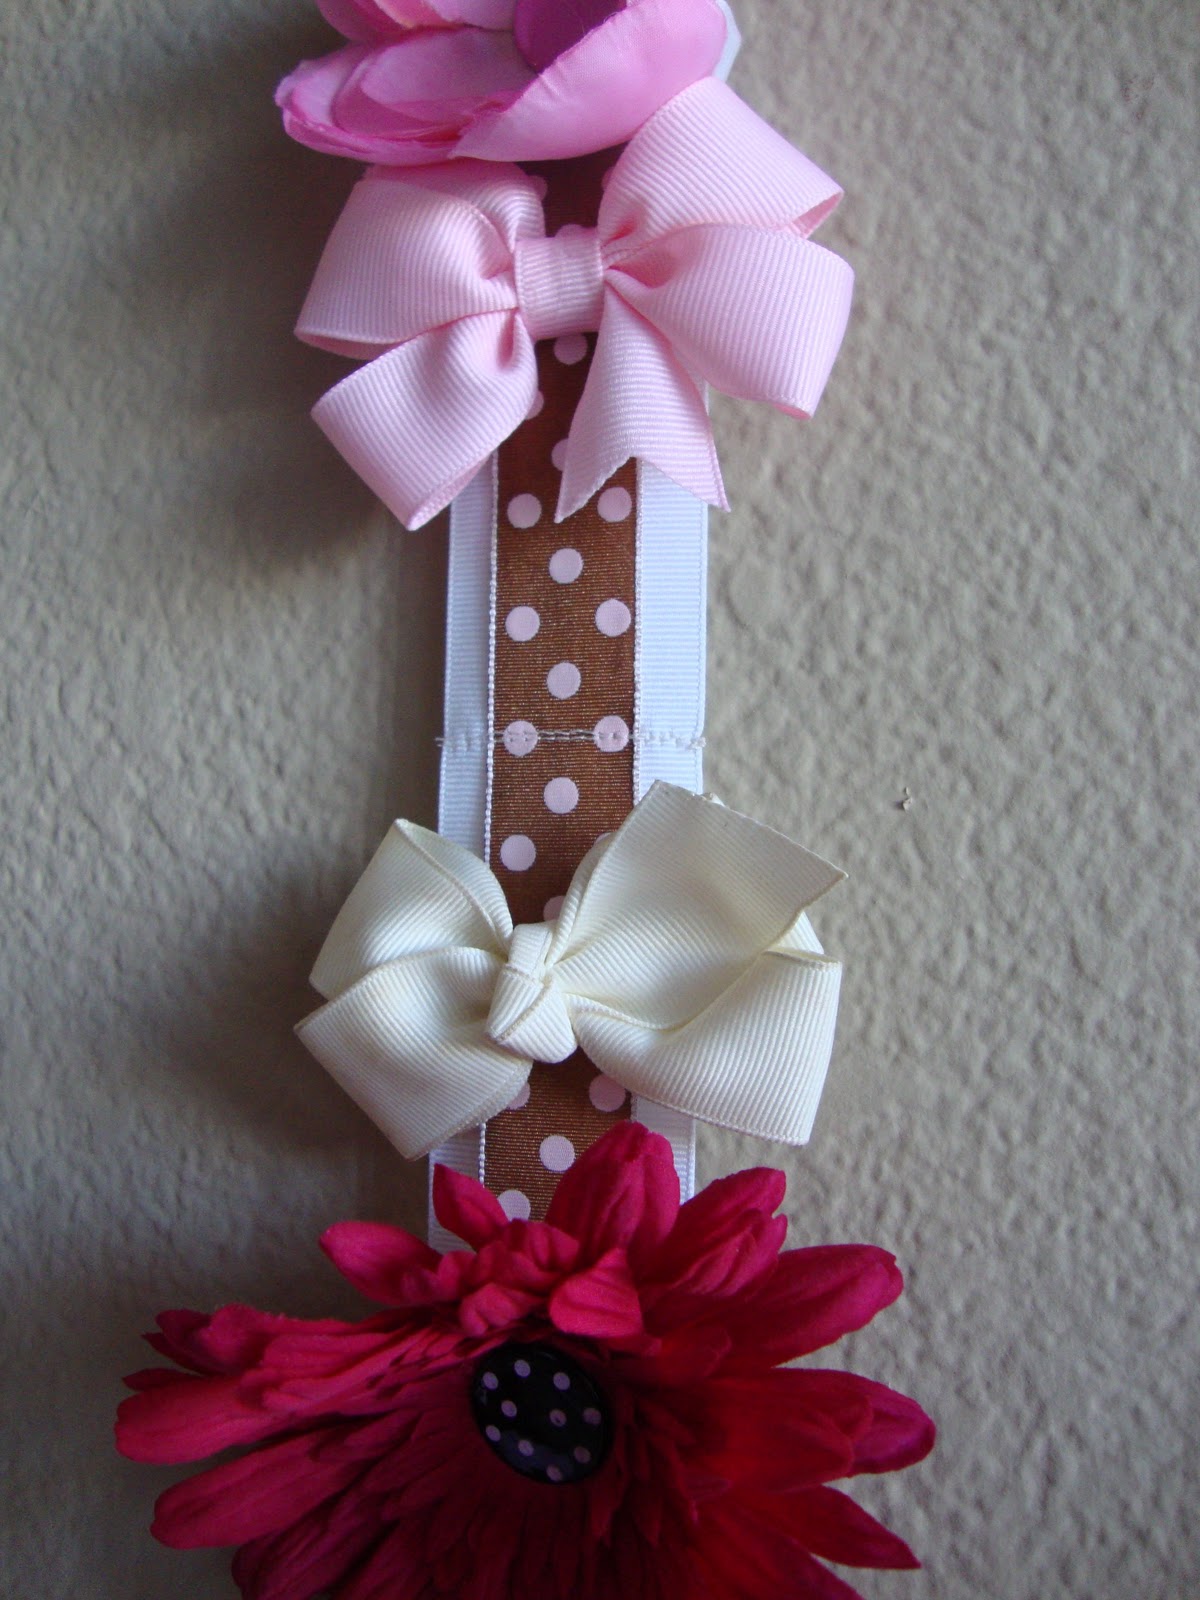
Jillian's bows were starting to get out of control and I saw one of these "bow holders" at a store in VA for about $20.  I decided it would be easy (and cheap!) to make one of my own.

I just got 2 different sized ribbons and sewed them together every 5 inches and put a d-ring at the top to hang it by.  It is so nice to have all of her bows and flowers easily accessible now!

I didn't really do much for this but I finally hung my old pointe shoes in Jilly's room.  I found this awesome J hook at the dollar spot at Michael's (loooove that place) and I added a ribbon since my shoe ribbons were looking kind of icky.  

And, we finally have our photo collage updated and up on the wall.